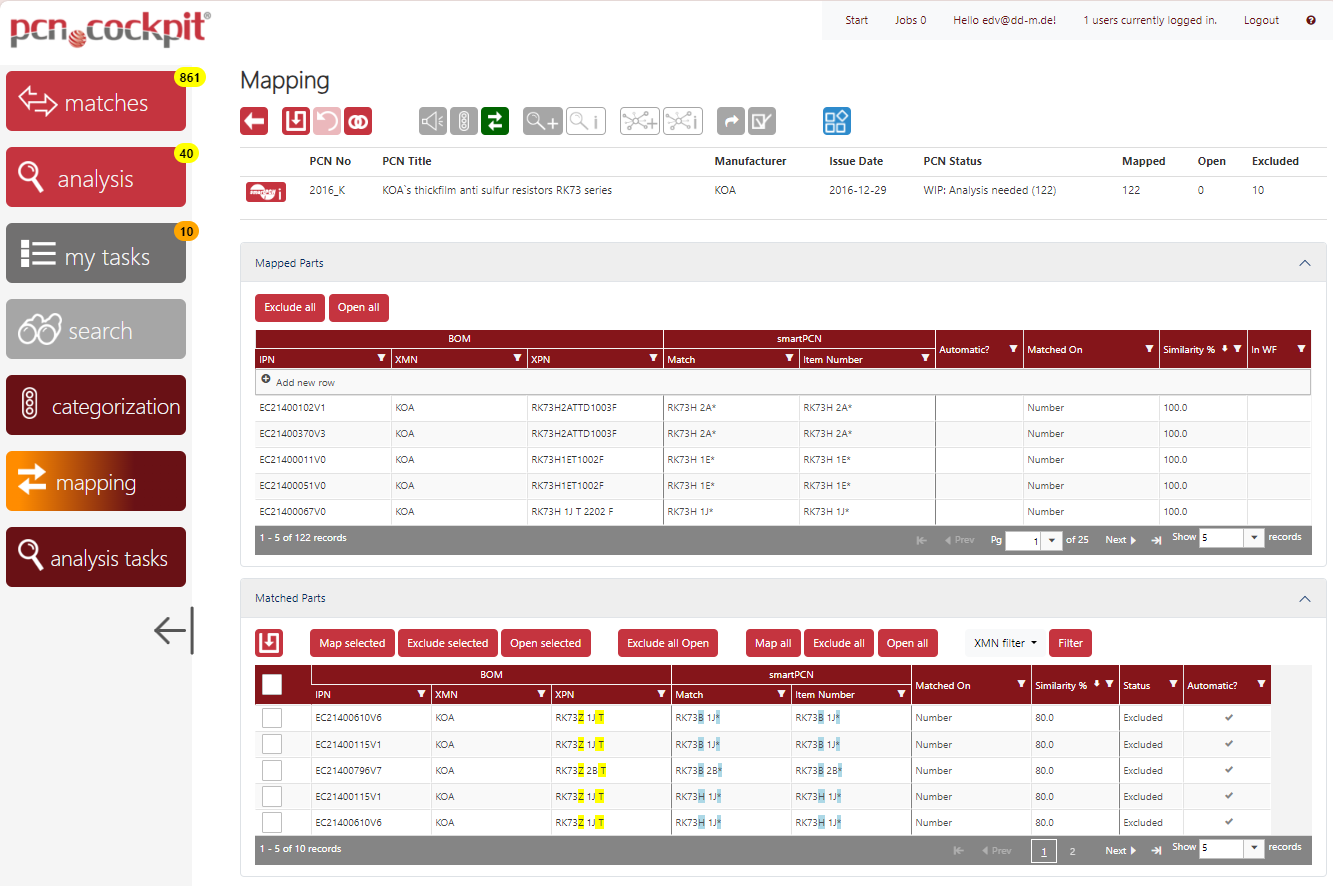
The second list contains all match suggestions (matches) of the PCN from the local matching. Here you specify which XPN/IPN combination you want to be permanently linked to the smartPCN part number (PPN).
In the column block BOM (1) you see the IPN (internal part number) and the XMN/XPN (external manufacturer with the part number).
In the column block smartPCN (2) you can see in column Match the number of the PCN part (PPN) that led to the match. This origins from one of the fields Item Number, Item Type ID and/or Item Name. The system always checks against all three numbers.
The column Item Number always contains the item number.
The column Matched On contains the name of the PPN field whose contents led to the match (see Matching).
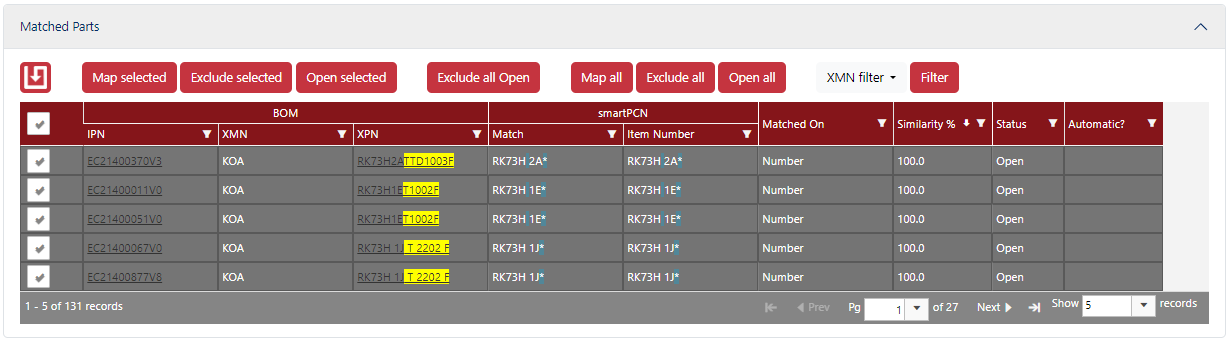
The column Similarity % shows the percentage for the match. The deviation is visible at first glance by the yellow highlights. The blue highlights show the differences between the XPN and the item number of the smartPCN (PPN).
The column Status indicates whether the match is unprocessed (Open), Excluded or Mapped.
The column Automatic? shows a check mark if the status was set automatically. This is possible if you have mapped an identical matching (same PPN and PMN) in the past within another PCN.
At the end you my see more columns which can be customized in the Admin area. In our example we have the column Org which displays the Org Unit which is assigned to the Internal Part in the bom.admin.
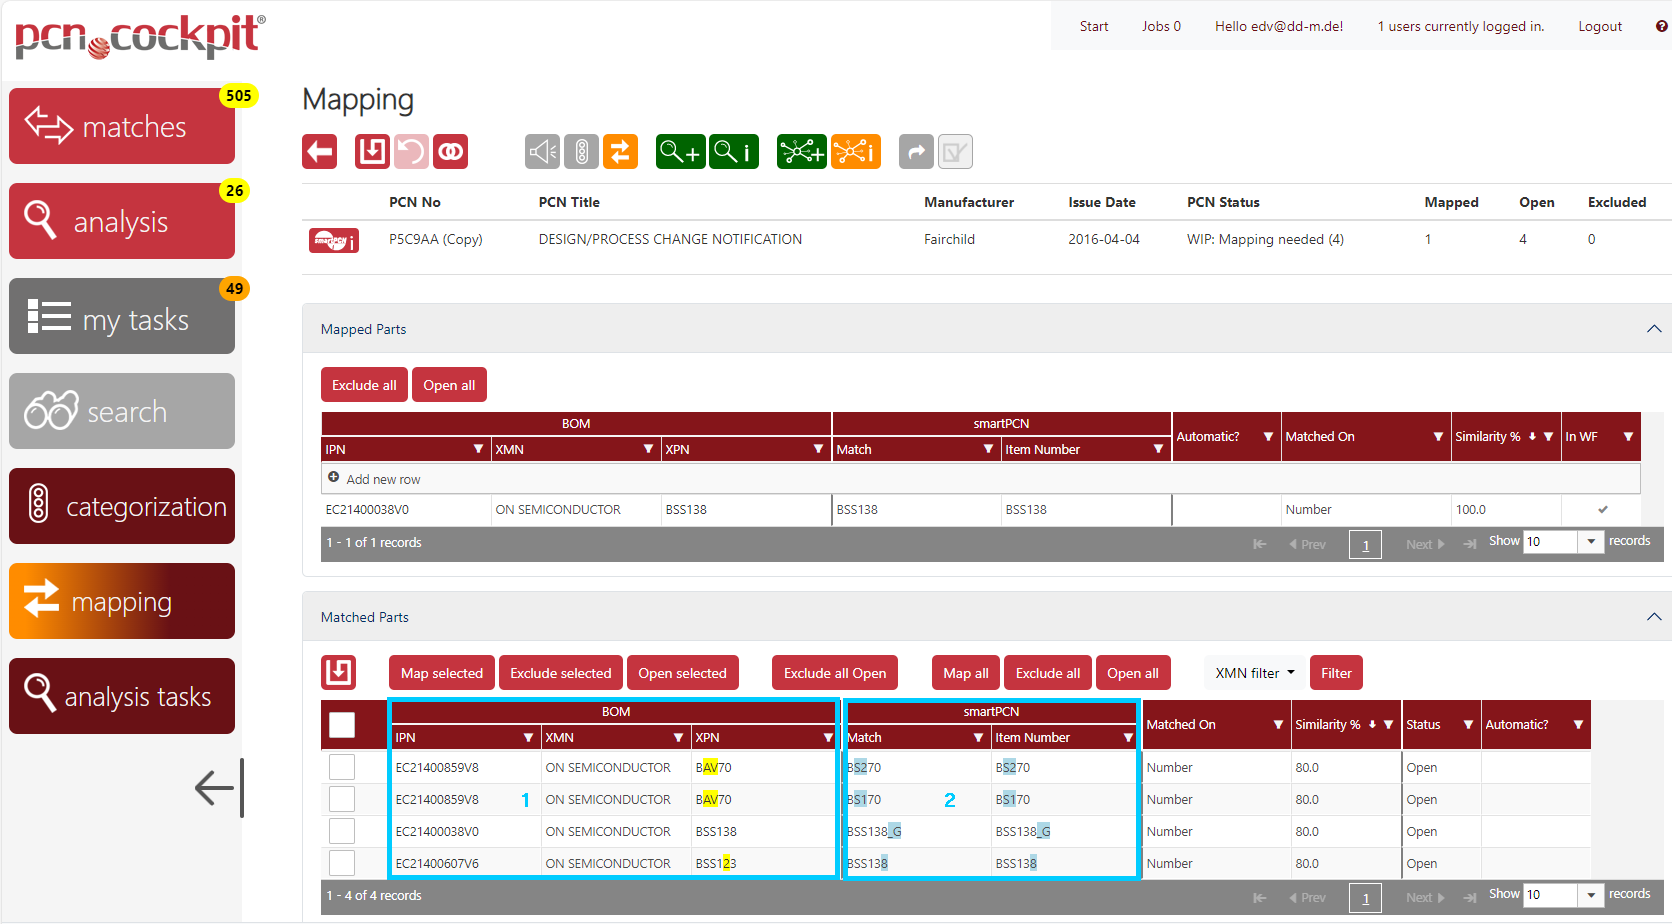
Mapping of Matches
To define a mapping, use the checkboxes to select the relevant matches (in this example, all 100% matches) and click the button Map selected. The status changes to Mapped and the lines are displayed in cursive. Click on the button Save ![]() to save the mappings.
to save the mappings.
The mapped rows now move to the first list Mapped Parts.
Excluding of Matches
If you do not want to map one or more matches because you know that the parts do not belong together (e.g. Similarity <= 90%), you can exclude these matches. To do this, select the respective PCN using the checkboxes and press the button Exclude selected. The status changes to Excluded and the rows are displayed in cursive. Click on the button Save ![]() to save the exclusions.
to save the exclusions.
The three buttons on the left, Map selected, Exclude selected and Open selected affect the selected matches in the current page. To save the change, the Save button must be pressed.
The three buttons Map all, Exclude all and Open all affect all matches that may be displayed across multiple pages. After confirming the message box, the status of the matches is changed directly. You do not need to click on Save.
If you e.g. already mapped all 100% matches and you now want to exclude all others (<100%), you can do this easily by clicking the button Exclude all.
Combine Filtering and mapping/excluding
Filtering can make your actions efficient. If you e.g. you want to map all 100% matches, you set the filter in column Similarity % to Equals 100. The connected buttons are turning orange and the captions change to Map filtered, Exclude filtered und Open filtered.
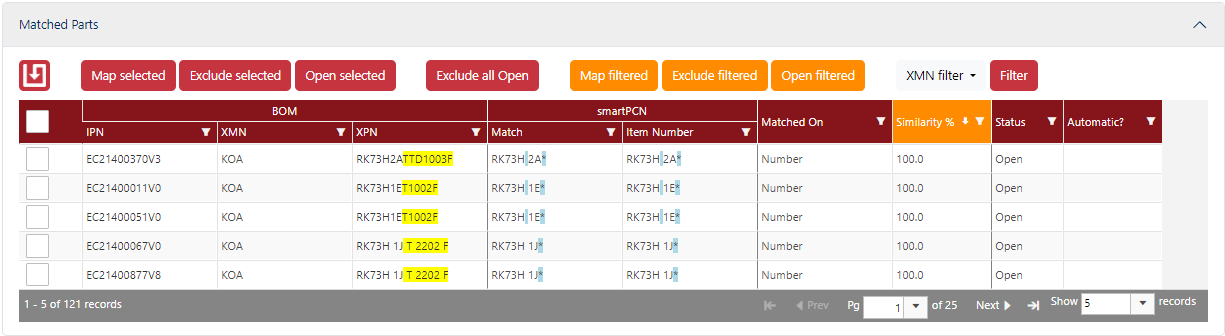
Click the button Map filtered and all filtered matches are mapped. Do the same for the remaining <100% matches if you want to exclude them.
XMN Filter
Use this filter to filter the matches by manufacturers of your parts.
The button Exclude All Open is helpful if there are many matches to be excluded. Clicking it sets all matches that have the status Open to Exclude without needs of checking the checkboxes. Changes are saved immediately.
If the option Automatically exclude lower matches while mapping? is set to true in the admin area, all lower matches are automatically set to Excluded when you save a mapping. This means, if you map a match with similarity 100%, then all matches having the same IP and XP and having a similarity less than 100% will be automatically excluded.
A mapping is complete, if there are no more Open matches. The mapped matches are shown in the list Mapped Parts, the excluded matches remain in the list Matched Parts which is automatically collapsed.
The Mapping button is displayed in green ![]() .
.